October 9, 2026
Spring Storms and Your RV Roof: What to Check After Hail
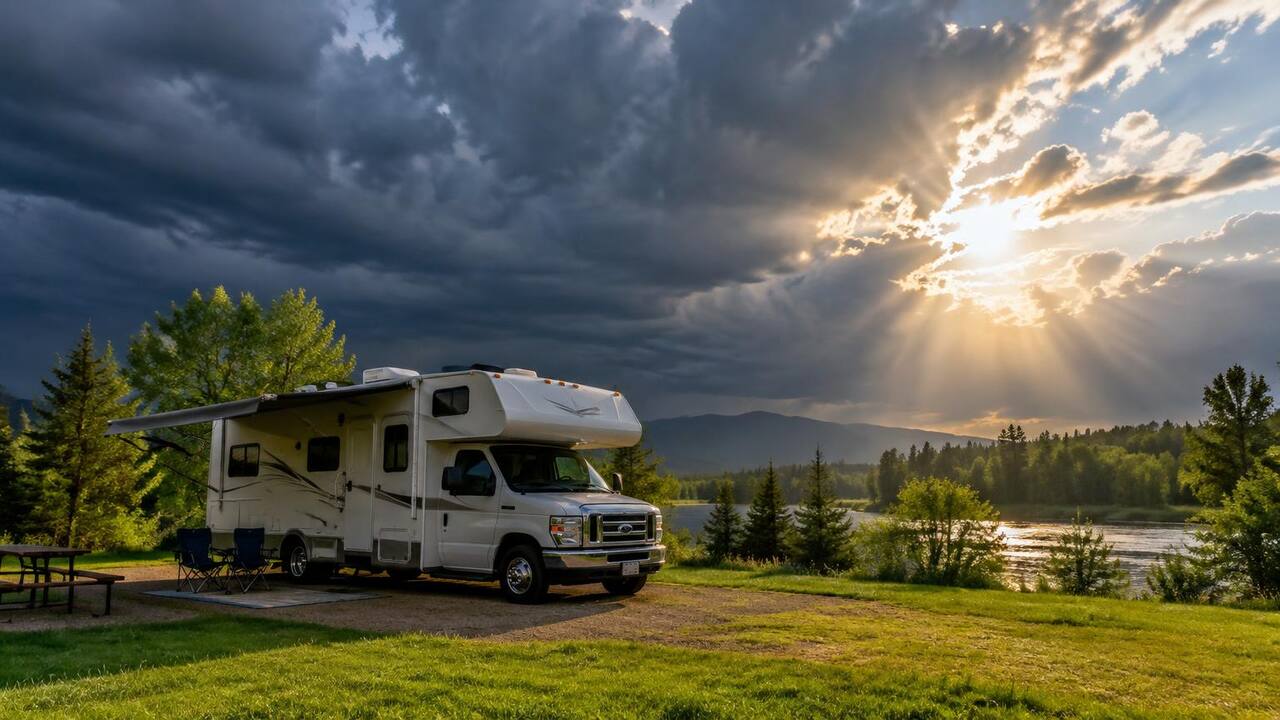
Spring in Indiana and Illinois brings fast-moving thunderstorms with hail, strong wind, and falling branches. An RV parked outdoors takes the full hit. Damage on top of the RV often goes unnoticed until water finds its way inside, so a quick check after every major storm is worth the effort.
Start on the ground
You can learn a lot without climbing. Walk around the RV and look up at the edges, the front and rear caps, the awning, and any roof-mounted items you can see. Look for torn trim, dented caps, broken vent covers, or branches resting on the roof. Check the awning fabric and arms, since wind can twist them even when rolled up.
Getting on the roof safely
Not every RV roof is built to walk on. Check your owner manual first. If yours is walkable, use a sturdy ladder, have someone hold it, and avoid going up when the roof is wet. Step on the solid areas near the roof framing rather than in the middle of open spans. If you are unsure, it is safer to inspect from a ladder at the edges or have a pro do it.
What to look for up top
- Cracked or shattered plastic vent covers and skylights
- Sealant that is split, lifted, or missing around vents, antennas, and A/C units
- Dents, punctures, or tears in the roof membrane
- Loose or lifted edge trim
- Branches, leaves, or debris piled against vents and seams
Hail can crack older, sun-baked plastic vent lids and skylights with very little force. Even a hairline crack lets water in. Fiberglass caps and aluminum skins may show dents, which are mostly cosmetic unless a seam has opened.
Clear debris
Remove leaves and branches carefully. Debris holds water against seams, which speeds up sealant failure, and it can clog the drain path on slide toppers and the roof edge.
Signs of a leak inside
After a storm, look inside, too. Water can travel along framing and show up far from where it entered.
- Stains or discoloration on the ceiling
- Soft or spongy spots on the ceiling or walls
- Wrinkled or bubbling wall panels
- Damp carpet or flooring near walls and slides
- A musty smell that was not there before
Open overhead cabinets and look at the corners and the ceiling above them. These spots hide early leaks well.
Take photos
Before cleaning up or making temporary repairs, take clear photos of any damage, inside and out, with the date. Photograph the whole roof as well as close-ups. Good records help you track changes over time and are useful if you decide to file an insurance claim.
Temporary protection
If a vent cover or skylight is broken and rain is on the way, cover the opening with a tarp or plastic sheeting secured so wind cannot catch it. This is only a stopgap until the part can be replaced and resealed.
When to call a pro
Call if you find broken vents or skylights, torn membrane, sealant that is cracked in several places, or any sign of water inside. Getting it resealed quickly keeps a small repair from turning into soft floors and rotted framing.
If you would rather have it done right without the guesswork, call or text Mat at (855) 949-6107. He comes to your home, campground, or storage lot.